There is something thrilling about trying something new for the first time. The anticipation of discovering something unknown and the challenge to overcome your fears and doubts can be scary and exhilarating.
This is exactly how I felt when I started the journey of analog film photography. And I love it so much that I went one step further. From the excitement of taking film pictures, to the scary joy of developing the film myself.
In the beginning, I decided to use a photo store to develop the negatives. I then learned that in my town, there’s a person that has a lab and develops films for others. This looked like a great opportunity because it will take a full month to get the negatives developed by the local photo store. After a short exchange of texts, and miscommunication, I decided that maybe I should look into how to do this myself. To my surprise, I found that it wasn't something that difficult. Yes, the process requires precision, patience, and attention to detail. I was instantly hooked on the idea of developing my own films.
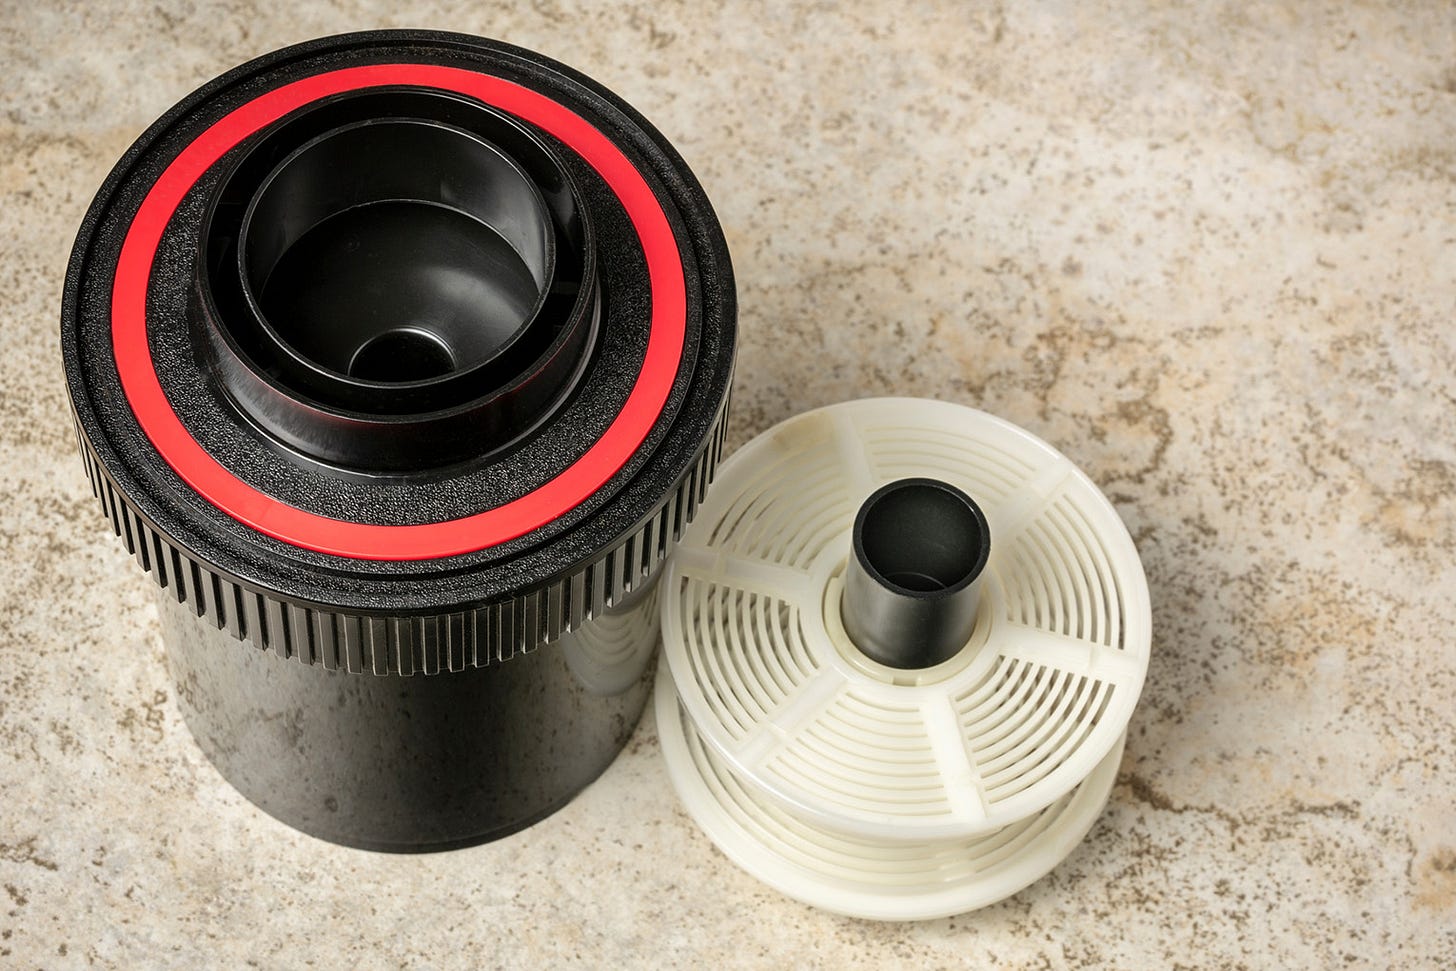
Without much hesitation, I got a film processing kit from Patterson with all the necessary items. It can develop two 35 mm rolls or one 120. This kit comes with Ilford Simplicity Starter Pack which was perfect as I was already shooting in Ilford film.
A big rabbit hole opened in front of me. :-)
The process
Developing black and white film is a process that involves a number of steps that have to be prepared in advance, and executed with precision. It’s not difficult, but easy to mess up a step and ruin the film.
Below are the steps I followed. I'm including these to illustrate what's needed at a very high level. This is not a complete list of all that needs to be done. So please use this as a guide, and do your own investigation to learn the process.
Preparations
This stage took quite a while for me. I went over multiple YouTube videos, and manufacturer’s manuals until I was confident that I got the process correctly. I watched the best videos multiple times taking notes. I also practiced loading the film into the reel, and into the developing tank multiple times.
Get all of the materials needed for developing your film.
Watch as many YouTube videos and web articles about how to do this. Take notes and write a final step-by-step instruction on paper. Make sure you use the recommended values for your film and developer combination. Learn the exact dilution for your chemicals, water temperature, and film.
Practice loading the film into the reel. First, with your eyes open, and then with them closed. You will have to ruin a roll for this, but it’s worth it.
Make sure you have latex gloves and eye protection gear available for when you work with the chemicals.
Loading the roll into the developing tank
This is the trickiest part for me because it’s hard to do all this in complete darkness. And if you don’t load the film correctly into the reel it will probably be ruined (chemicals will not reach all of the film). But, practice makes perfect. If you follow the preparation stage you should be ready to nail this one.
Work in a room without visible light, or use a film-changing bag to avoid exposing your film to light.
Set up all the material so you can access it in the darkness. Then turn off the light (or put everything into the bag).
If you are developing a 35 mm film, open the film canister with a bottle opener or a film canister opener and cut the end of the film with scissors. For 120 films, peel the end and unroll it, separating the film from the paper back.
In total darkness, feed the film into the slot on the film reel and wind it until it reaches the end. Put the reel inside the development tank and close the lid.
Now you can turn on the lights!
A Patterson tank with the film reel. This is for a 35 mm roll, but it can be extended to hold a 120 film roll
Developing the film
This stage is critical because once you pour the developer there’s no stopping it. You have to follow the exact time for each step as instructed by the manufacturer. Good preparation is vital.
Use latex gloves and eye protection for the following steps.
Mix up your chemistry according to the instructions from your manufacturer. You will need a developer, a stop bath, and a fixer. A wet agent is optional but highly recommended. Make sure not to contaminate the chemicals, so do not use the same container. Pay attention to the water temperature. Developing time is different based on temperature.
Pour the developer into the tank and agitate it for the recommended time. The developer will make the latent image on your film visible. A more prolonged agitation will render the photo with more contrast.
Pour out the developer and pour in the stop bath. The stop bath will neutralize the developer and stop the development process. Agitate it for a few seconds.
Pour out the stop bath and pour in the fixer. The fixer will make your film permanent and light-resistant. Agitate it for a few minutes.
Pour out the fixer and wash your film with water to remove residual chemicals. Optionally, use a wet agent to help with rinsing the negative without leaving spot marks from the water.
Congratulations! You have developed your own black and white film!
Final steps
You are done with the developing stage, things should be less stressful now. Make sure you handle the negatives with care and wear cotton gloves to avoid scratching them.
Hang up your film to dry in a dust-free area.
Use a squidgy to remove all the water from the film.
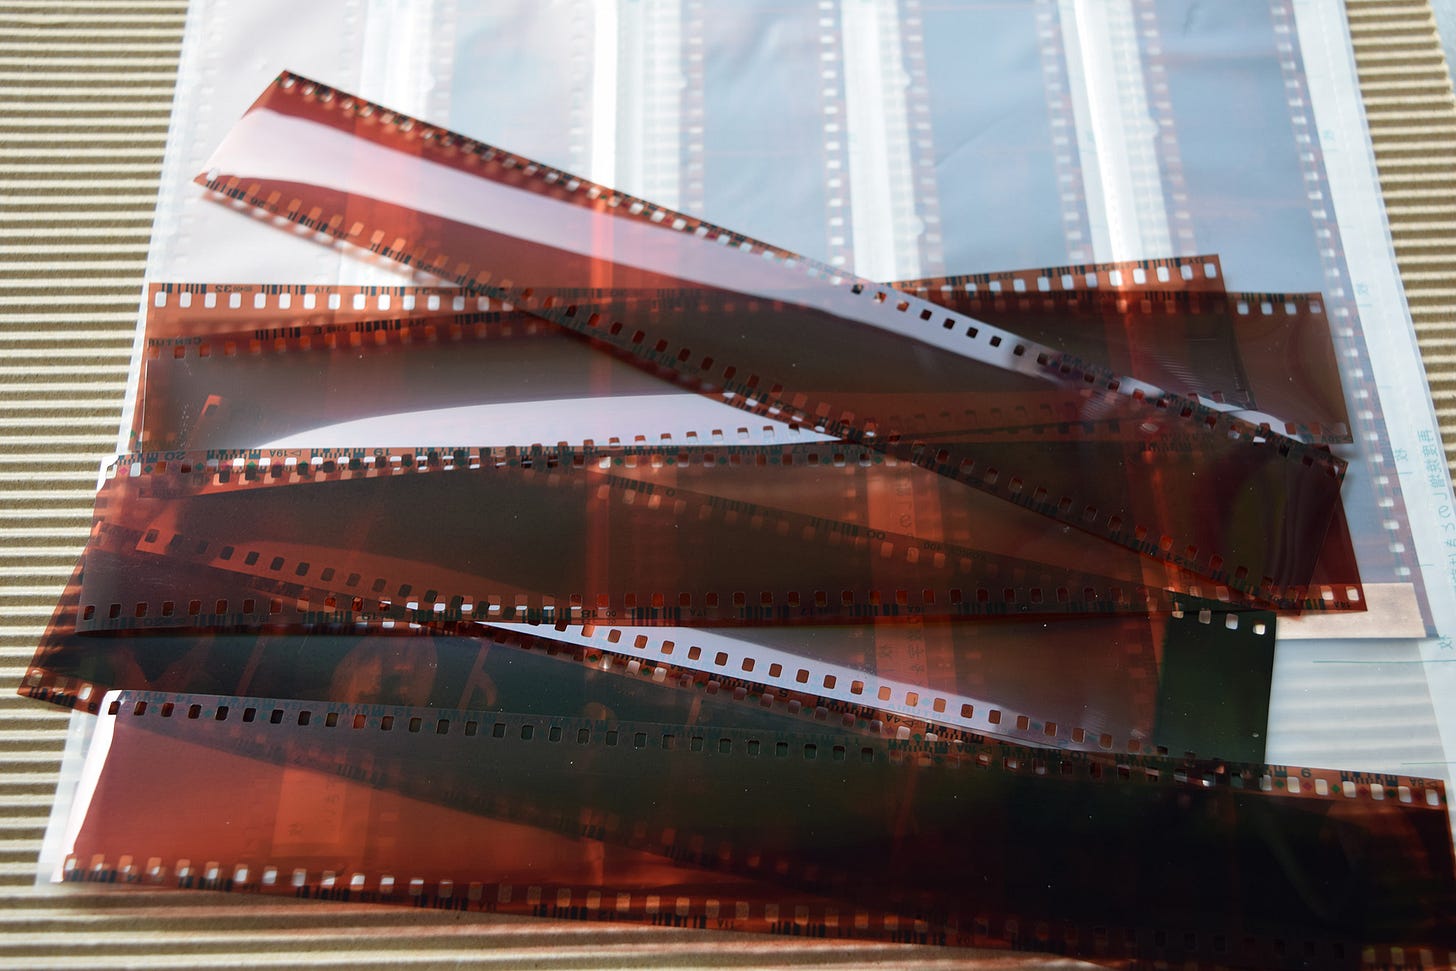
Once dry, cut the film into the size that fits your storage, or film scanner.
Store the negatives in acid-free envelopes and/or plastic strips to protect them.
Notes about disposing of your used chemicals
Disposing of used developer chemicals is an integral part of film photography, as some of these chemicals may harm the environment or human health. The best way to dispose of them depends on the type and amount of chemicals you have and the local regulations and facilities in your area. Please find out how to do this in your area. And use your local recycling depot.
What did you learn, Pedro?
In my experience, the most challenging part is loading the film into the reel. This is done in complete darkness or inside the developing bag. For this reason, as mentioned above, I recommend you ruin a film to practice before you develop your first film roll.
Planning is the most important part of film development. You have to prepare for everything that is needed ahead of time. Having sufficient water, tools, and space. Notes on the timing, a stopwatch, etc. Because, once you start pouring the developer, there's no stopping the process.
I learn everything from a few YouTube videos and reading the film and chemicals manufacturer’s instructions. Take your time to watch those videos, and do it multiple times. Then write down your notes. Putting the process down on paper will help you memorize it. I can't emphasize this enough.
If you are thorough in the preparation, developing your film should not be a problem. If I made it I’m sure you can too.
Developer agent options
Which developer agent should I use? There is no definitive answer to this question, as different developers may have different effects on contrast, grain, sharpness, tonality, and film speed. However, some of the most popular and versatile developers are:
Ilford Ilfosol 3: suitable for beginners. It's especially suited for medium-speed films.
Kodak D-76: A powder developer is considered the standard developer for many films. It produces fine grain and good shadow detail.
Ilford ID-11: A powder developer similar to Kodak D-76, but with minor differences. It is also fine-grained and works well with most films.
Kodak HC-110: A liquid concentrate developer favoured by Zone System users for its ability to yield full shadow detail, a wide tonal scale, and full film speed. It is also economical and long-lasting.
Ilford Ilfotec DD-X: A liquid concentrate developer designed to push film to higher ISOs. It produces fine grain, high sharpness, and pleasing tonality. It is especially suited for Ilford Delta films.
The difference between a powder and a liquid developer is mainly in the form, the cost, and the shelf life. A powder developer needs to be dissolved in water to create a stock solution, which can then be diluted further to make a working solution. A liquid developer is already a concentrate that can easily dilute with water.
A powder developer is usually cheaper than a liquid developer and is easier to travel with. However, it may take more time and effort to mix it properly, and it may have a shorter shelf life once mixed. Some developers are available in powder and liquid forms, such as Kodak D-76 and Ilford ID-11.
Ultimately, the best developer for you depends on your preference, budget, choice of film, and desired results. You may want to experiment with different developers to see how they affect your images.
If you are starting I recommend using a liquid developer. And if you shoot Ilford film, go for their developing kits. This is what I did, keeping it simple until I have more experience.
Film and chemical combinations
You don't have to use the same chemicals from the film manufacturer. Many people experiment and use different combinations of films and chemicals. I'm still following the safe option and sticking to Ilford products. But soon, I will get Fomapan and Kodak films so I’ll have to decide which developing agent to use on those. I will probably use a different set of chemicals. If you are mixing brands there’s a website with a large database of film and developer combinations, Digitaltruth Photo - Film Photography & Darkroom Resources.
Summary
The excitement of starting a new activity comes from the opportunity to grow and change as a person. You may find that you love the new activity and want to pursue it further or that you hate it and never want to do it again. Either way, you have gained something valuable: a new experience.
Developing your own photo film negatives can be a rewarding and fun experience. This has been the case for me. By choosing different developers and developing processes, you will have control over how your photos will look like. For example, you can experiment as much as you want. If you are like me and enjoy learning something new, you will have a great time.
Resources


Pierre- Film development is so complex and is a lost art. I so appreciate that you and a handful of others are preserving this art. Hope you're well this week? Cheers, -Thalia