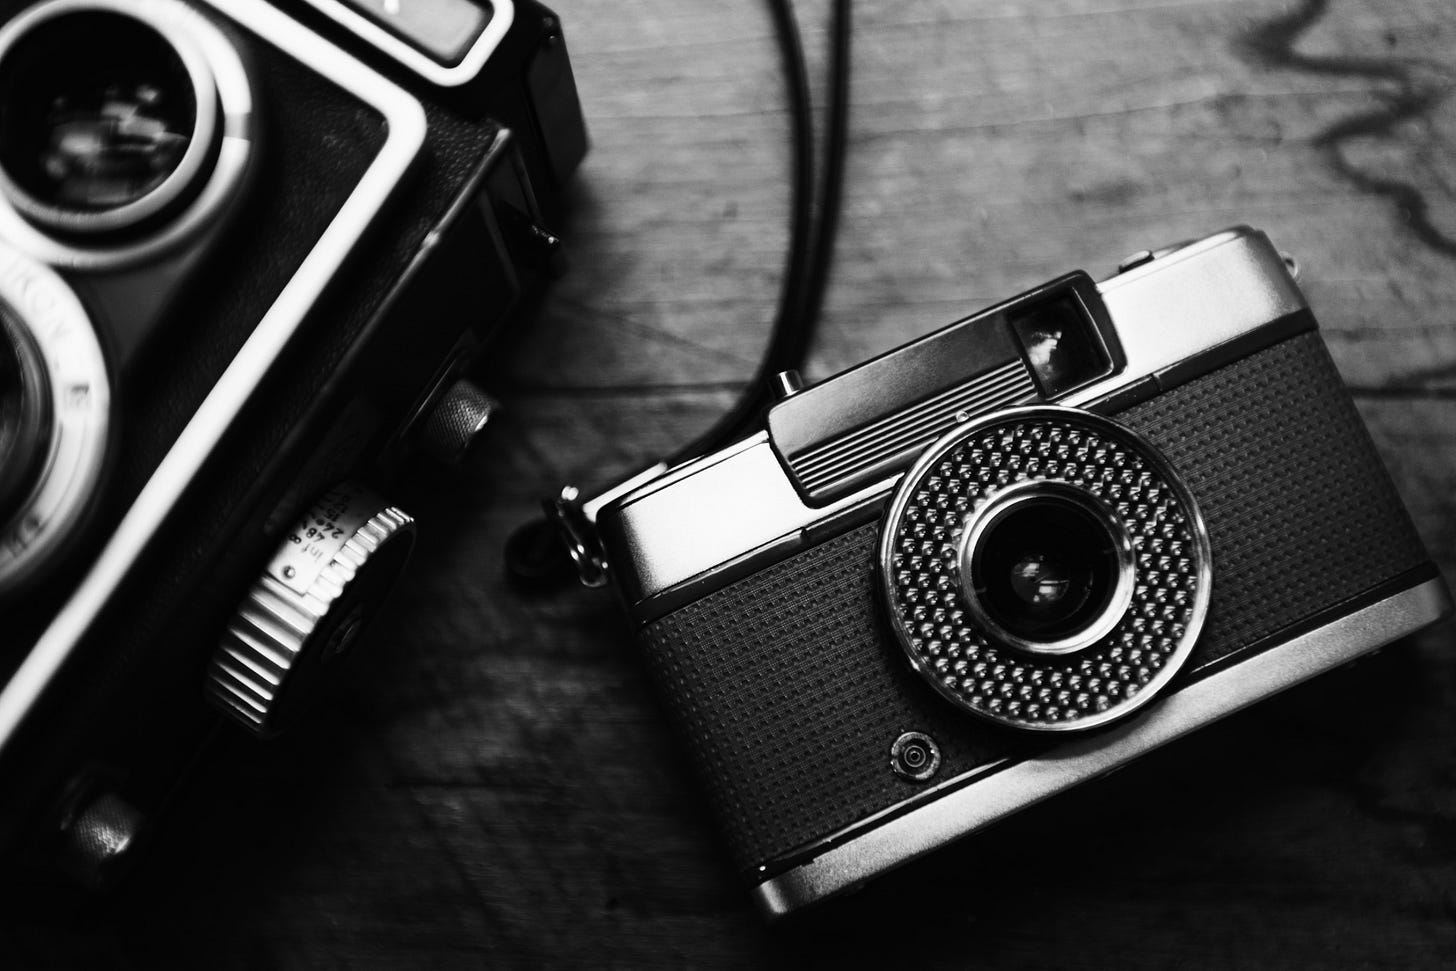
Film photography. Or, why would you want to make your life more difficult?
So I bought a medium format film camera. Right. Why would I want to do this? Why go back decades to a time when taking good photos needed more dedication and a lot of knowledge?
I don't have an answer. It could be nostalgia or a middle-life crisis. Whatever it is, it doesn't matter. I'm in this boat now. So let's get hands-on and shoot some photos.
The Camera
I've written before about the Mamiya C33 that I own. You can read it here: Film Photography In a Digital World (substack.com)
My first roll
I have some basic knowledge of film from the many film simulations I've been using. It's different, but still a good reference. This gave me a basic idea of what I wanted to start with.
So I chose an Ilford Delta 3200. It's winter and overcast most days, so 3200 ISO is a good option. It's grainy and contrasty, which I like. I later got an Ilford HP5+ 400 ISO and an Ilford XP2 super 400.
Taking the photos
I'm learning how to shoot film in full manual mode, and how the different settings and film affects the result of the photos. To remember what I did I had to keep track of the settings of each image. I used a note App on my phone, and these are the entries of my first roll:
1 - 1/500 f5.6
2 - 1/500 f5.6
3 - 1/60 f4.5
4 - 1/250 f11
5 - 1/250 f11
6 - 1/125 f9
7 - 1/60 f9
8 - 1/60 f9
9 - 1/125 f8
10 - 1/250 f8
11 - 1/250 f8
12 - 1/250 f11
The Ilford Delta 3200 is a fast film, which explains the relatively short speed at small apertures of the initial shots. The maximum shutter speed in my 135mm lens is 1/500 of a second. Yes, the shutter speed and aperture are on the lenses.
I took all of the pictures on overcast, dark winter days. I overexposed some shots by one-stop, as suggested in the tutorials I watched on YouTube.
In this camera, taking each photo requires a sequence of steps. You must be careful and make sure you follow the exact order. For my camera, which is a TLR, it goes like this:
Measure light (I use a phone App)
Set aperture and shutter speed
Measure light again
Change aperture or shutter speed if needed
Crank the film
Focus on the subject (take time to get this right)
Frame shot (look at the horizon and all edges. Account for parallax)
Take the photo
Repeat as needed :-)
The nature of this process and how it slows me down is one of the main reasons I love the experience.
Results
As of this writing, I am still waiting to receive the negatives. The only camera shop I have that deals with film doesn't develop black and white in-house. I'll write another article about the results.
Lessons learned
The first and most important one is to slow down. Evaluate the scene, the subject, and the light. Measure the light a few times and set the camera accordingly. Frame the photo carefully, and look at the edges, horizon, and tilt. When you are satisfied with the above, take the picture.
Decide if you want to overexpose (push in film terminology). Some films are much more forgiving than digital photography. You can safely overexpose the Delta 3200 by two or three stops.
Keep track of the settings for each shot. Use a small notebook or an App on your phone. There's no EXIF in film :-)
Start with a single type of film and stay with it long enough to compare all the different settings you used and how they impacted the images. And if you are developing the film yourself, it will also help you find the exact method for you. I started with the opposite, one roll of each film type. But I’ll be staying with Ilford H5+ for a while.
The final one: take all the mistakes as a gift and opportunity to learn.
Summary
If you are interested in starting in film photography, I recommend spending as much time as possible researching. Watch YouTube channels, read reviews, learn about the process of film photography, and think about what type of photography you want to do. Doing this will help you select the best camera and lenses and start on the right foot.
Resources
Ilford official site: ILFORD PHOTO | The home of B&W film photography
Kodak's official site for camera films: Photographers | Kodak Alaris
Nik Carver YouTube channel. He talks all about film photography. Although he prefers 16x170 film and medium format, all you can learn will apply to 35mm:
Nick Carver - YouTube
If you are interested in developing, Andrew has many videos about the topic:
Andrew & Denae - YouTube
Matt Day will teach you about cameras, film and the developing process:
Matt Day - YouTube
This website lists the characteristics of the most available films of today:
Photo Film Index - The Darkroom's comprehensive photography film index
If you are developing your films, this website will help you find the exact times for your film and developing liquid:
Digitaltruth Photo - Film Photography & Darkroom Resources


